
Sewing an elastic waist skirt is super quick and easy! It’s a garment I like to sew because I can use scraps of fabric from my stash (for a standard one-layer elastic waist skirt I only need about 50 cm for an above-the-knee length skirt or about 1 mt for a maxi skirt). Furthermore it’s a very versatile and easy garment to wear, during pregnancy above all.

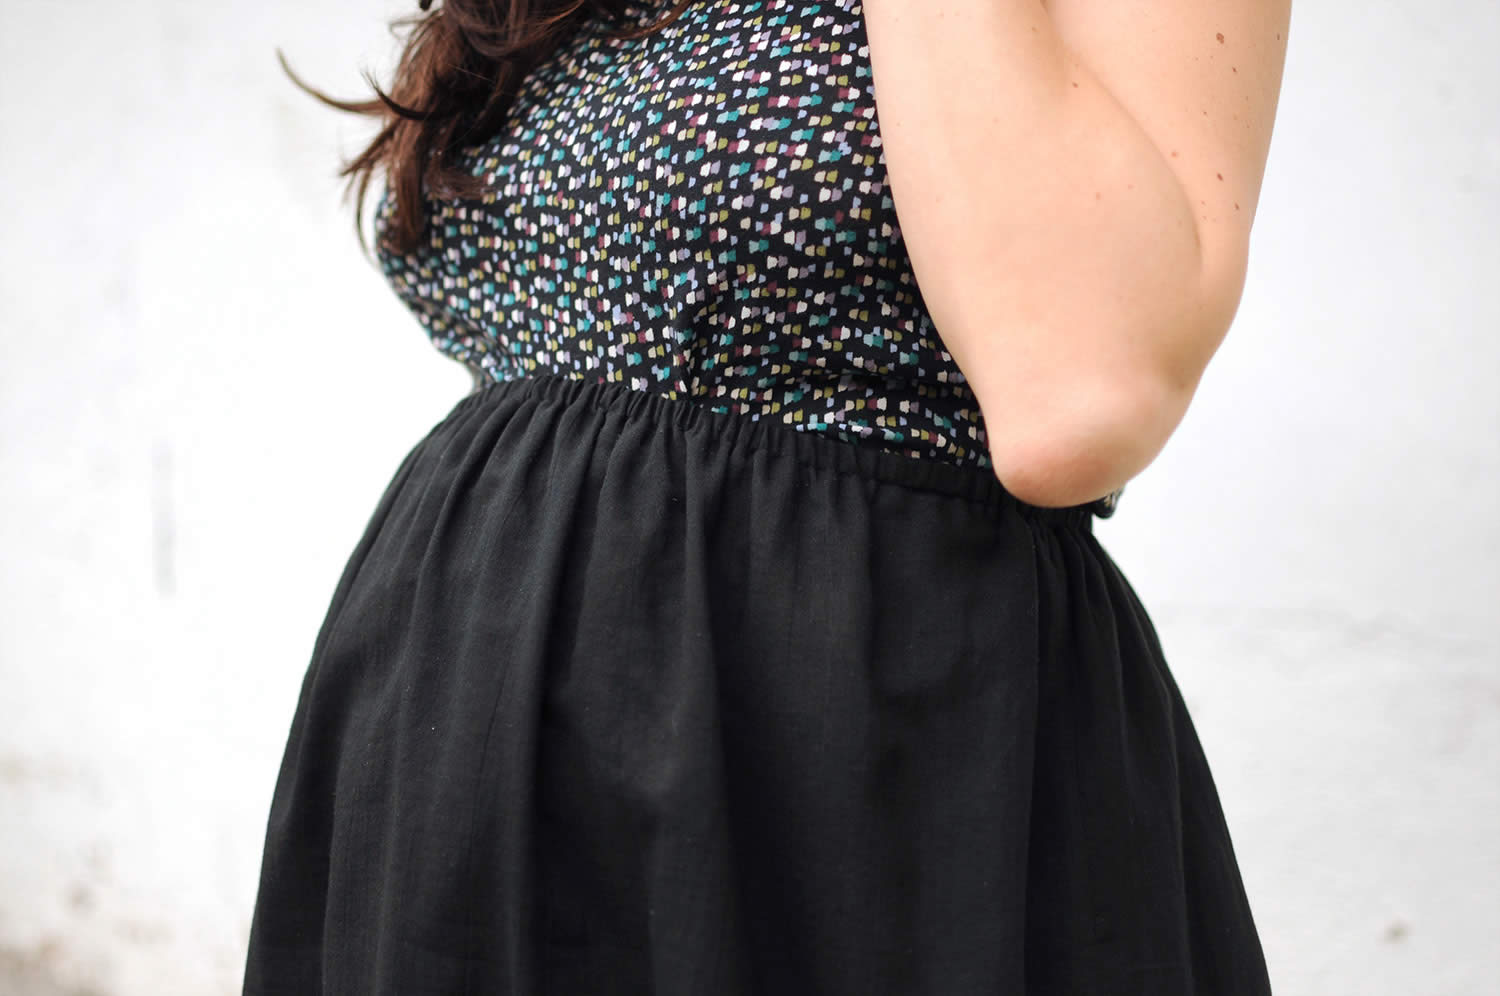
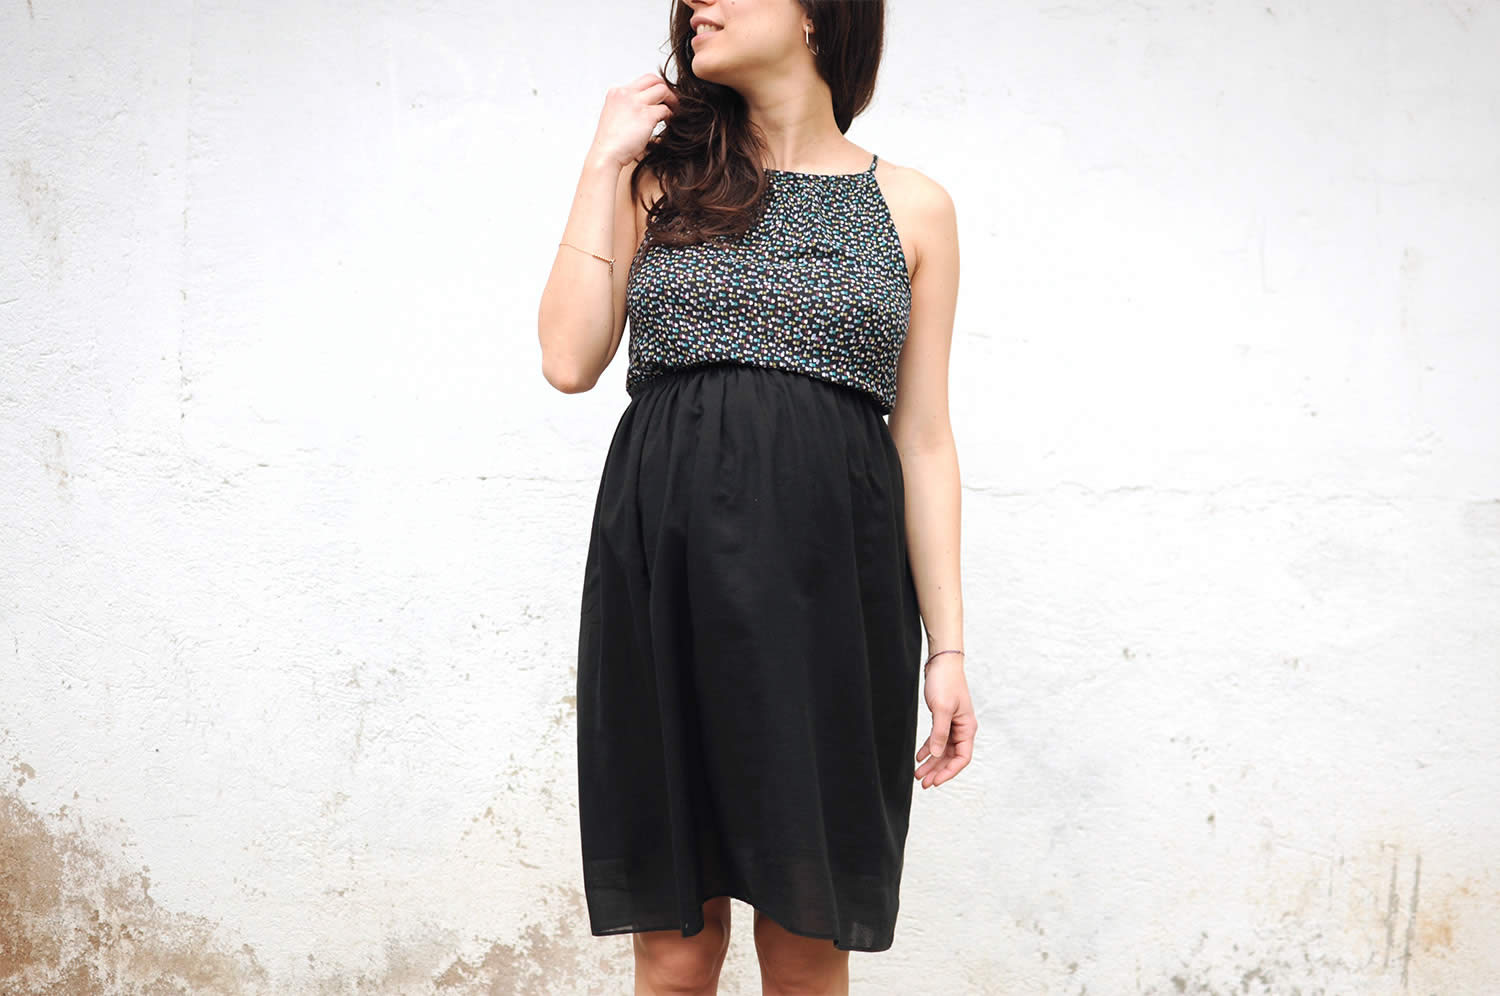
I made the elastic waist skirt you see in these pictures in a cotton voile, a very light fabric, perfect for summertime. This skirt is different from the standard one because it’s a double layer skirt, so it’s made out of one piece of fabric folded and used as main fabric and lining. The fabric is folded on the waistline and so there’s no seam between the main fabric and the lining.
Here I wear it with a top I made last summer.


As I told you, a double layer elastic waist skirt is very easy to sew, even for beginners!
Here you can find the instructions to sew it:
SUPPLIES NEEDED:
- Cotton voile o any other very light and slightly see-through fabric. I used 1,2 mt (fabric width 1,5 mt) for a knee length high-waisted skirt (I’m 1.63 mt tall)
- Thread in matching colour
- Elastic (1 cm width in my case) | length: your waist measurement
HOW TO MAKE:

1) Fold the fabric in half lengthways, right sides together, matching the selvedges up.
2) Sew the selvedges up together. You got a big tube of fabric in this way. Cotton voile is a see-through fabric, so I used a French seam to sew the selvedges together, that is a very neat finishing because it encloses the raw edges of the fabric inside the seam allowance.
HOW TO MAKE A FRENCH SEAM: wrong sides together (for a French seam you have to start in this way instead of right sides together as usual), sew the two edges with a 5 mm seam allowance. Then trim 2 mm away from the edge of the seam allowance and fold the seam back on itself, so that you have right sides together now and the raw edges of the fabric inside the seam allowance. Sew with a 5 mm seam allowance again. Press the French seam towards the back of your skirt.
3) Fold the top edge of the tube fabric down, leaving about 10 cm between the two raw edges/hems. The French seam has to be lined up on the side. Press the fold you’ve created on the top edge of the tube.
4) Now you have to sew a casing to insert the elastic. Sew parallel to the top edge with a 1,5 cm seam allowance (depending on the width of your elastic, leave about 5 mm more on your seam. For instance I have a 1 cm elastic, so I sewed with a 1,5 cm seam allowance. This will help you to insert the elastic easily). Stop stitching about 3-4 cm from where you started. You need this gap to insert the elastic in the casing you’ve just made.
5) In order to choose the length of your elastic, hold it around your waistline and define the right length. The elastic has to be tight. Once you choose your length, add 2 cm for each sides in order to sew the two ends of the elastic together when the elastic will be inside the casing.
Stick a safety pin into one of the two ends of your elastic and push your safety pin and elastic into your waistband gap. Use fingers to push the elastic through the casing keeping the second end of the strip of elastic outside the casing (you can fix it outside the gap with a pin). Once the safety pin/first end of elastic is out of the gap because you have completed the full circle of the waistline, sew the two ends of the elastic together using a zigzag stitch, making sure the elastic isn’t twisted.
6) Now you have to close the casing up. So hold the fabric flat on the gap and sew the gap in order to finish the waistband and enclose your elastic in.
7) Hem both the layers up (skirt and lining). Being the fabric see-through I suggest a pin hem.
Here is how to make it:
You have to turn and press the hem, about 1 cm. Stitch along the hem at 1 or 2 mm from the edge. Cut the seam allowance/hem close to the stitching you have just done. Turn the little hem again and stitch along the existing stitching. You will see two stitching on the wrong side and only one stitching on the right side. I really like the “pin hem” finishing because it’s very easy to make and it’s very neat.
8) Turn the skirt inside out and voilà… you made a double layers elastic waist skirt!
BUON CUCITO!

SalvaSalva